Month: April 2015

Extra long weekend

Had friday off work, so the first order of business for the day was to find some 15″ rims.

Ended up with these from a wrecker.  Not the Braid or Speedline that I want, but at $200 for two full sets they are a lot cheaper for now.

IMAG0161

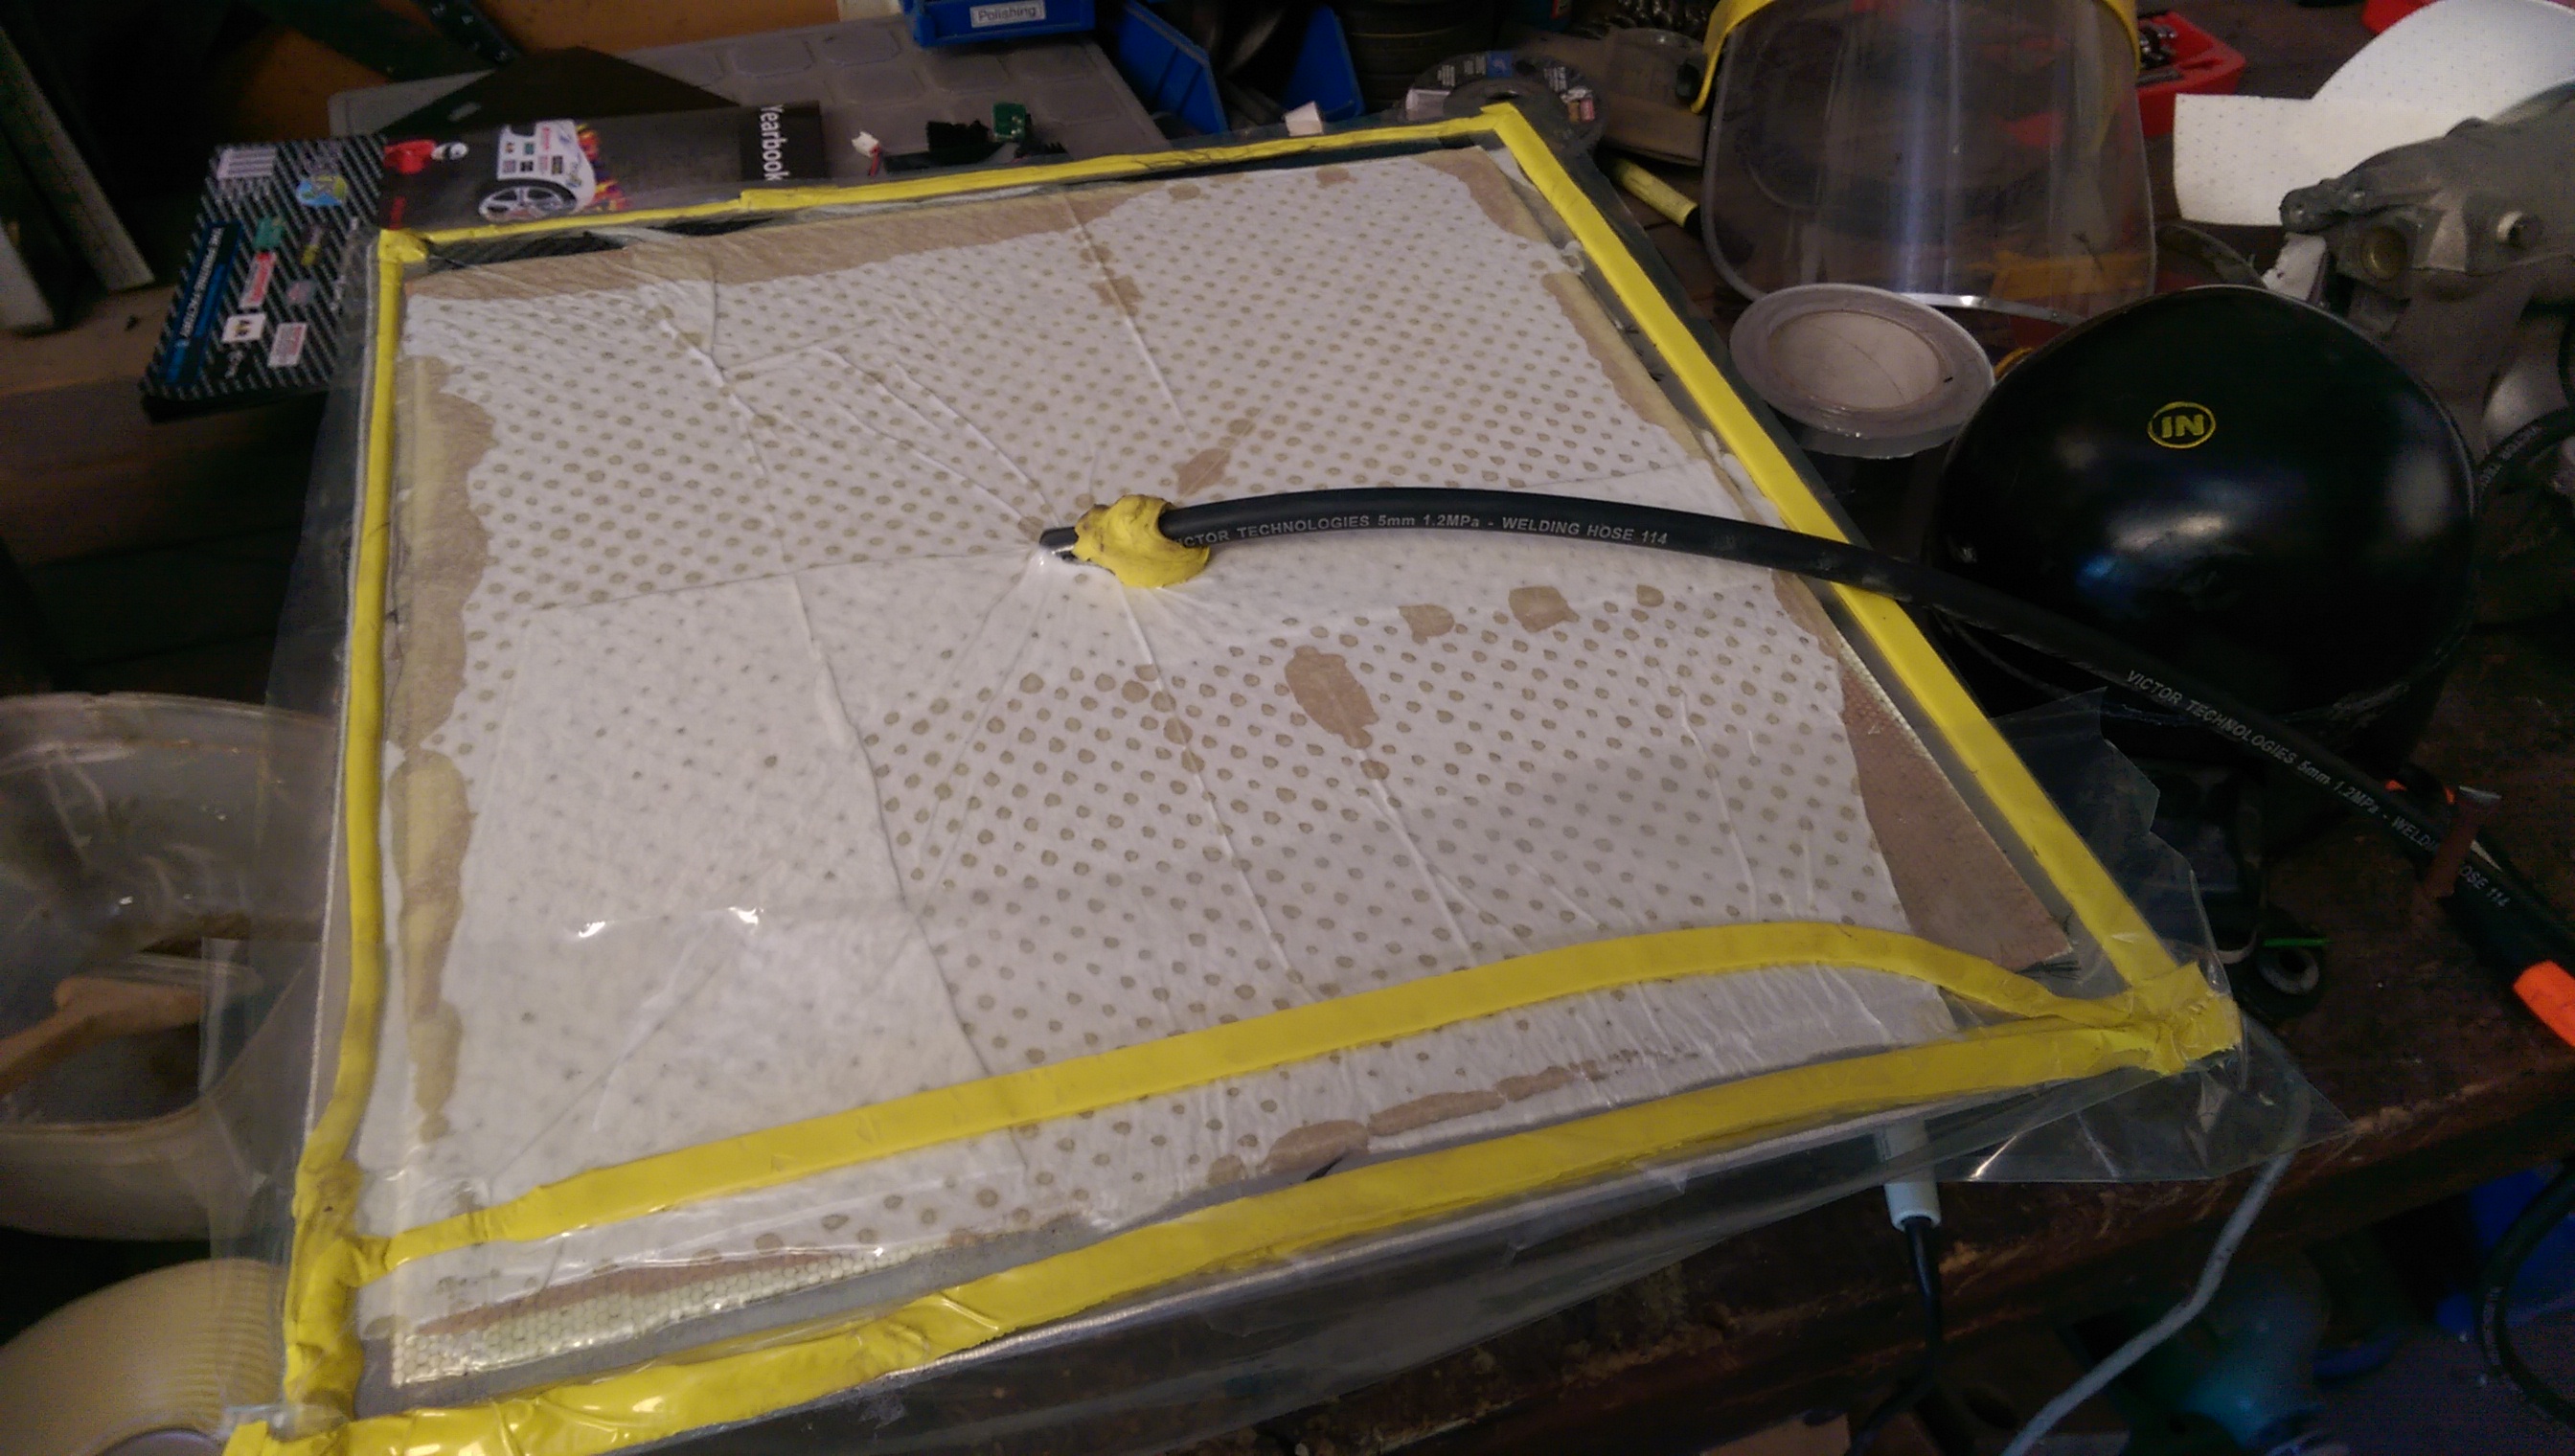
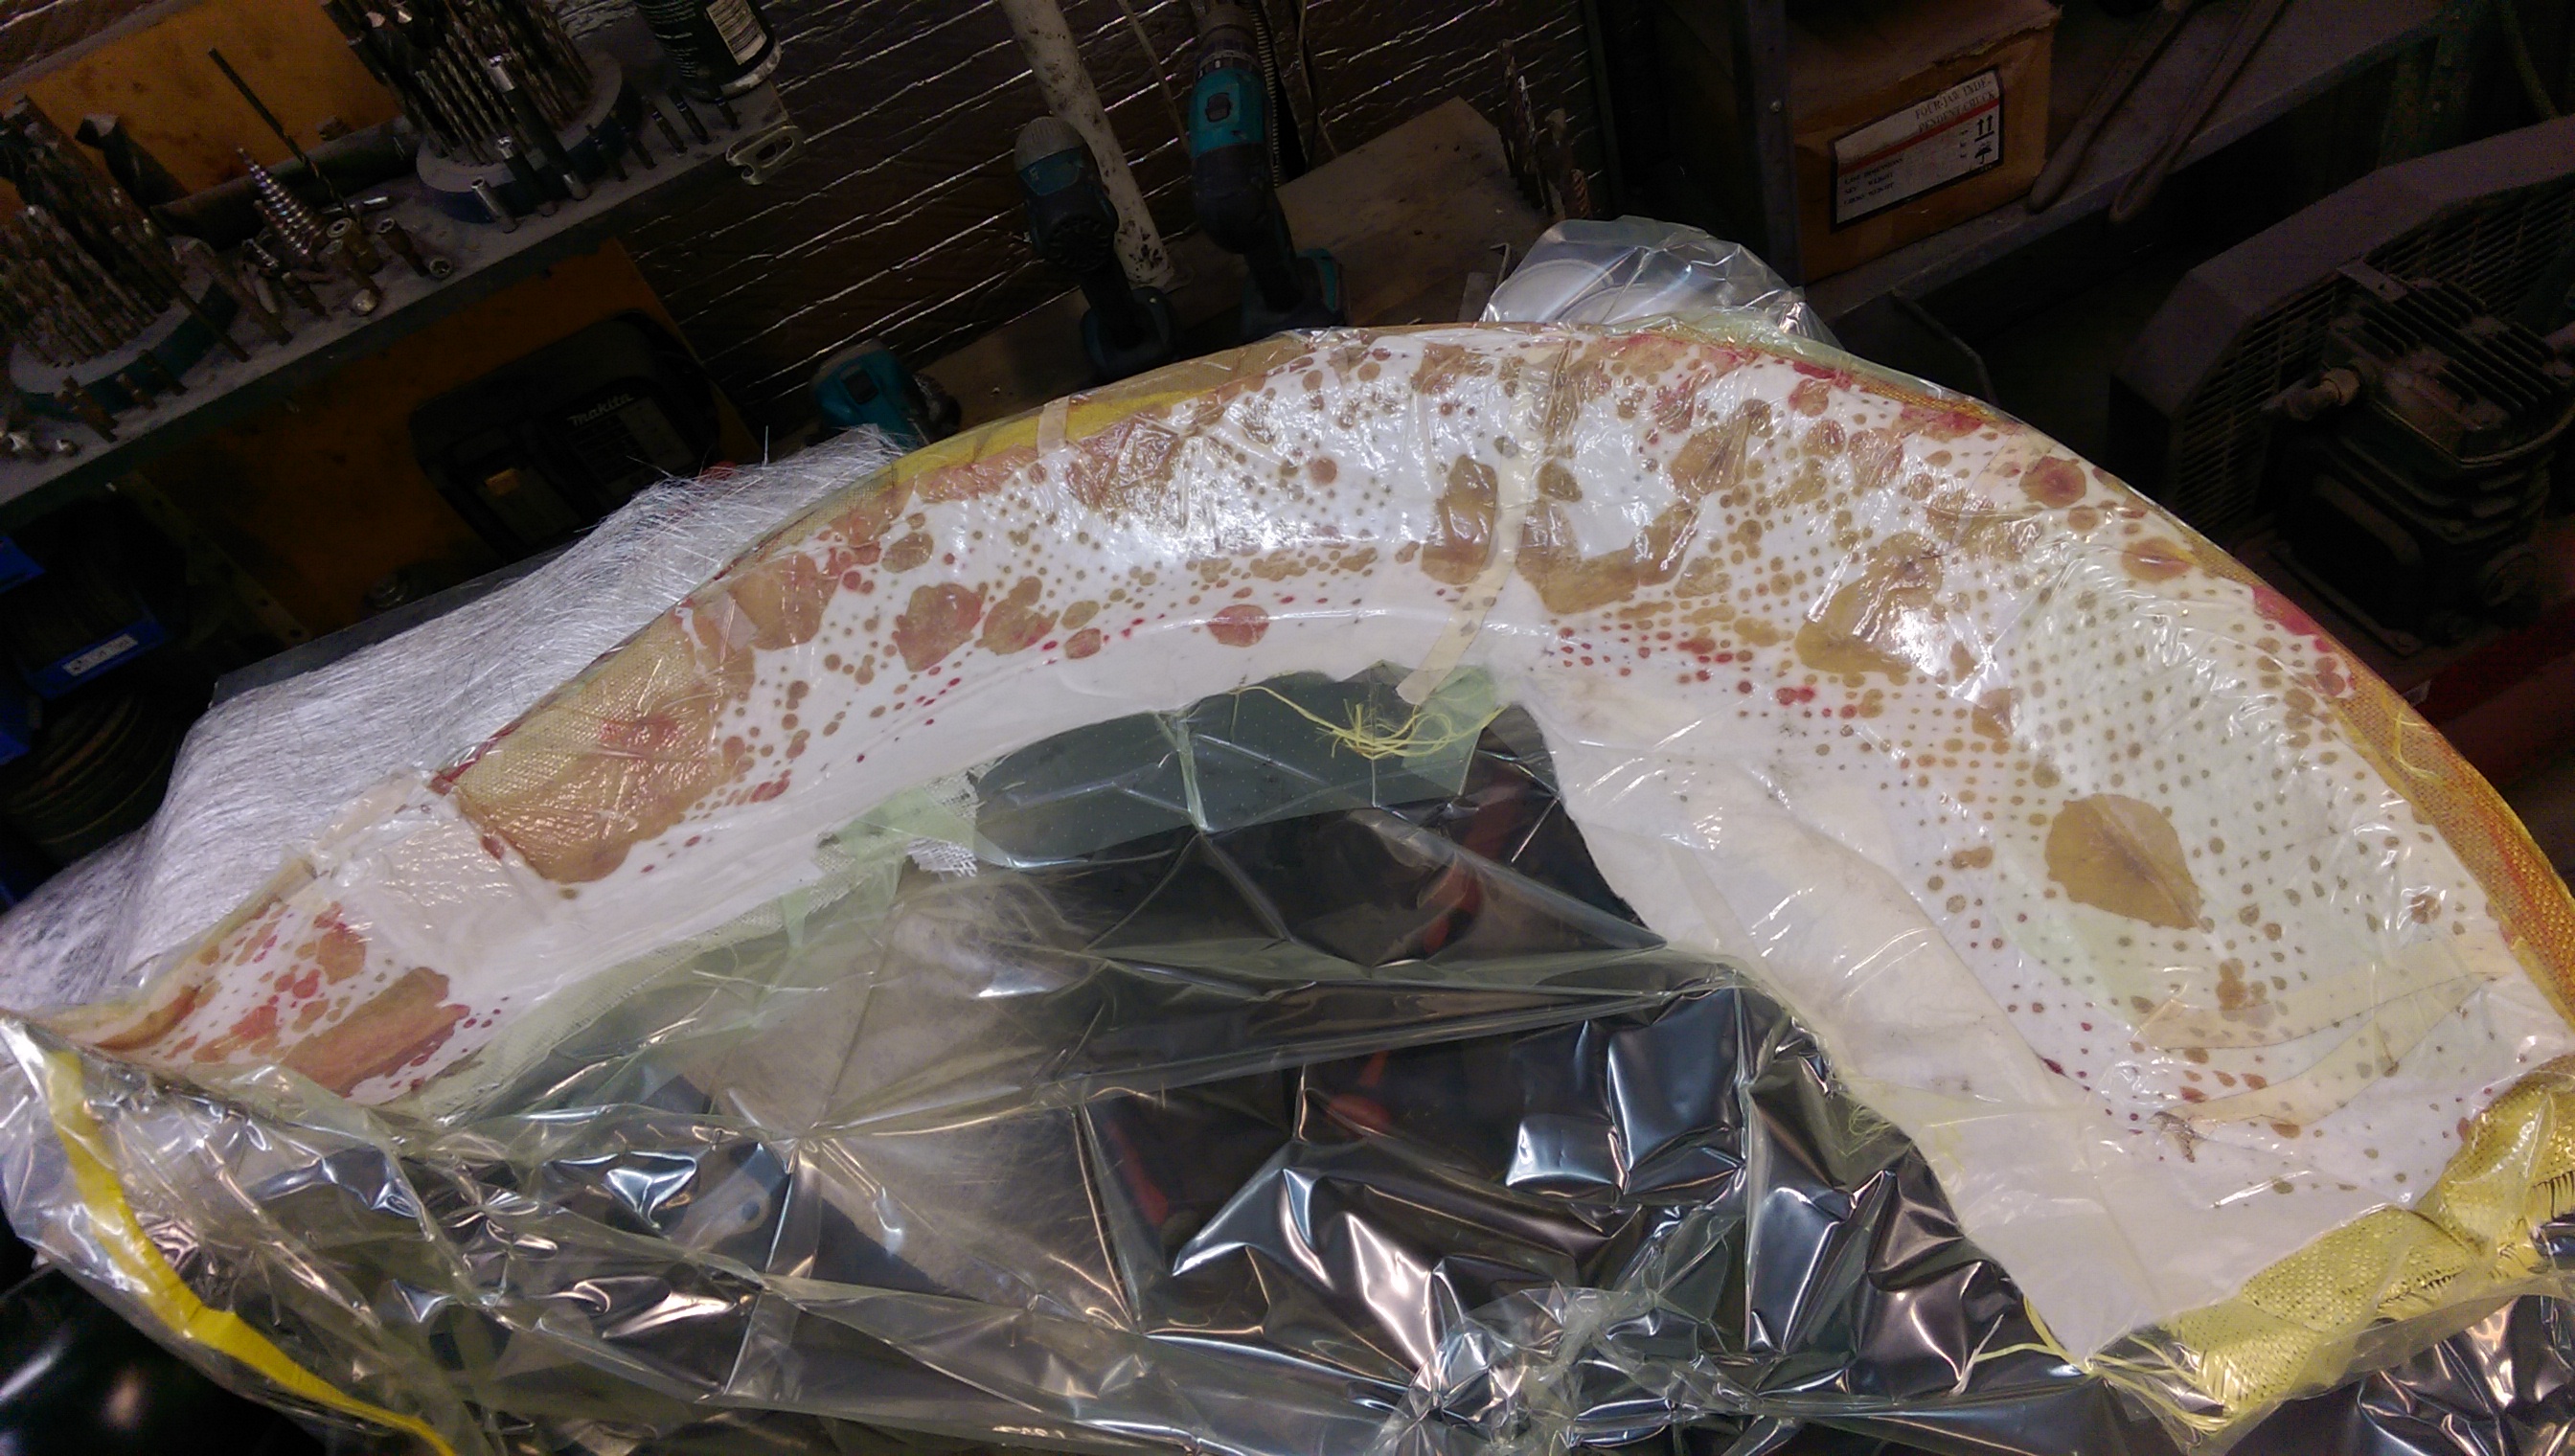
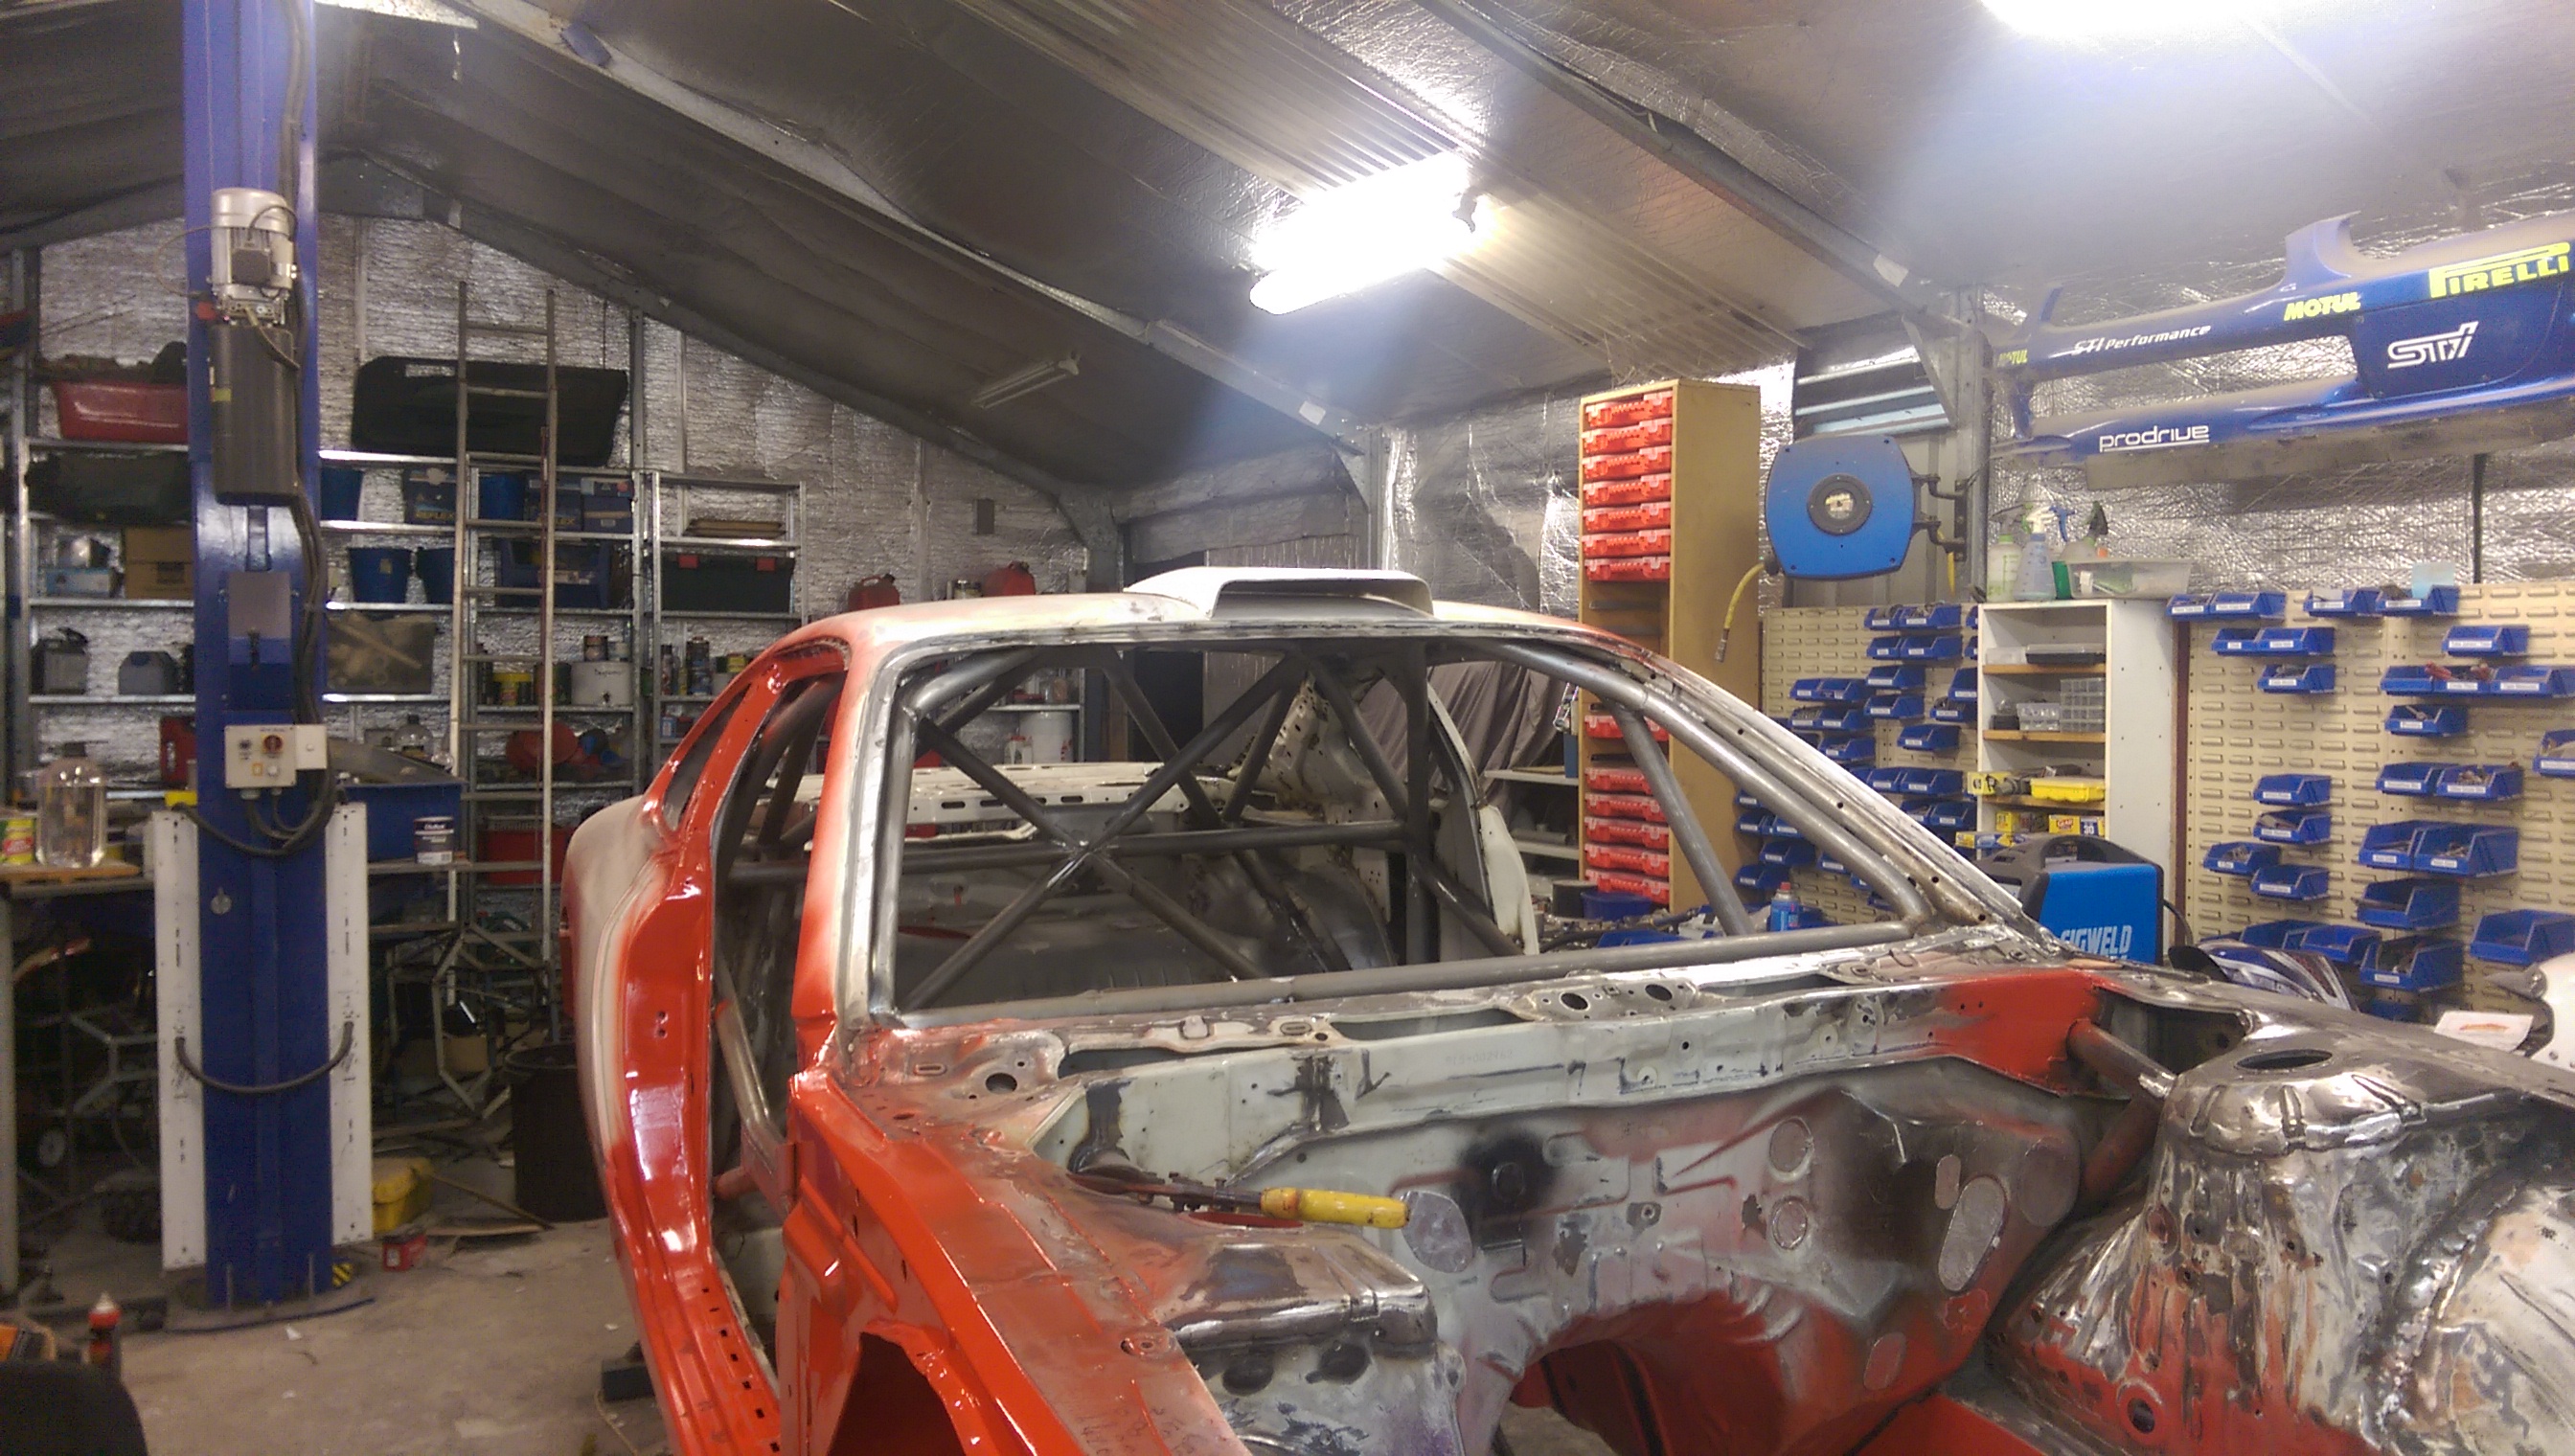
Glued the roof vent on, will then do some final finishing on it with body filler to get it all nice, then take a mould of it to make the real one.

IMAG0164

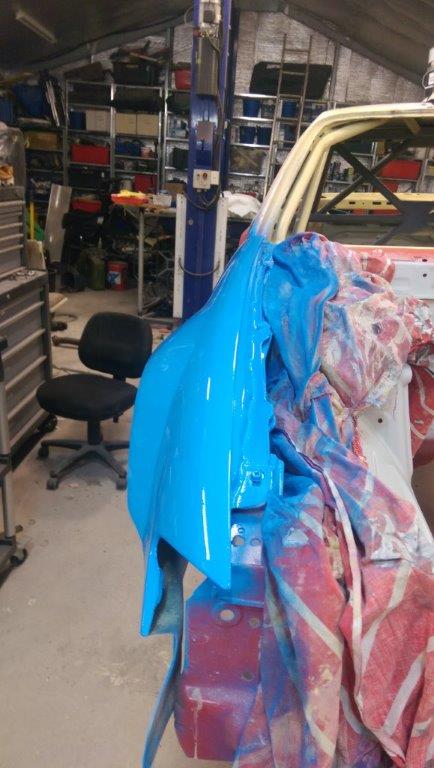
Got the front guards back on, a whole day of body filler, primer, sanding, repeat – and then a gloss coat of paint to make it all nice for making the mould of it.

IMAG0165 IMAG0163

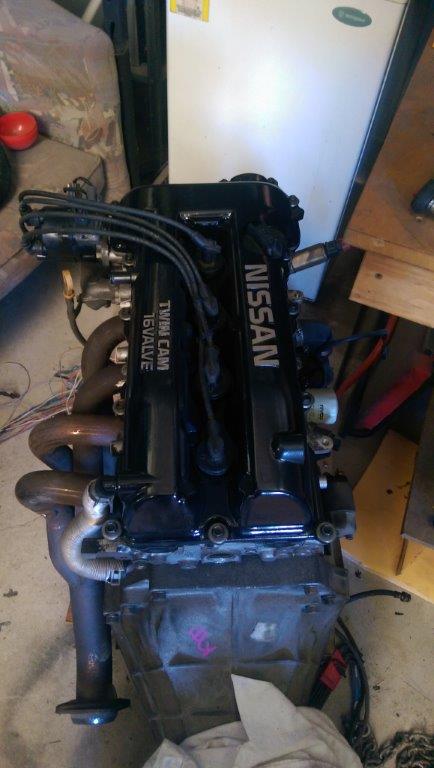
Painted the rocker cover and got all of that fitted on.

IMAG0167

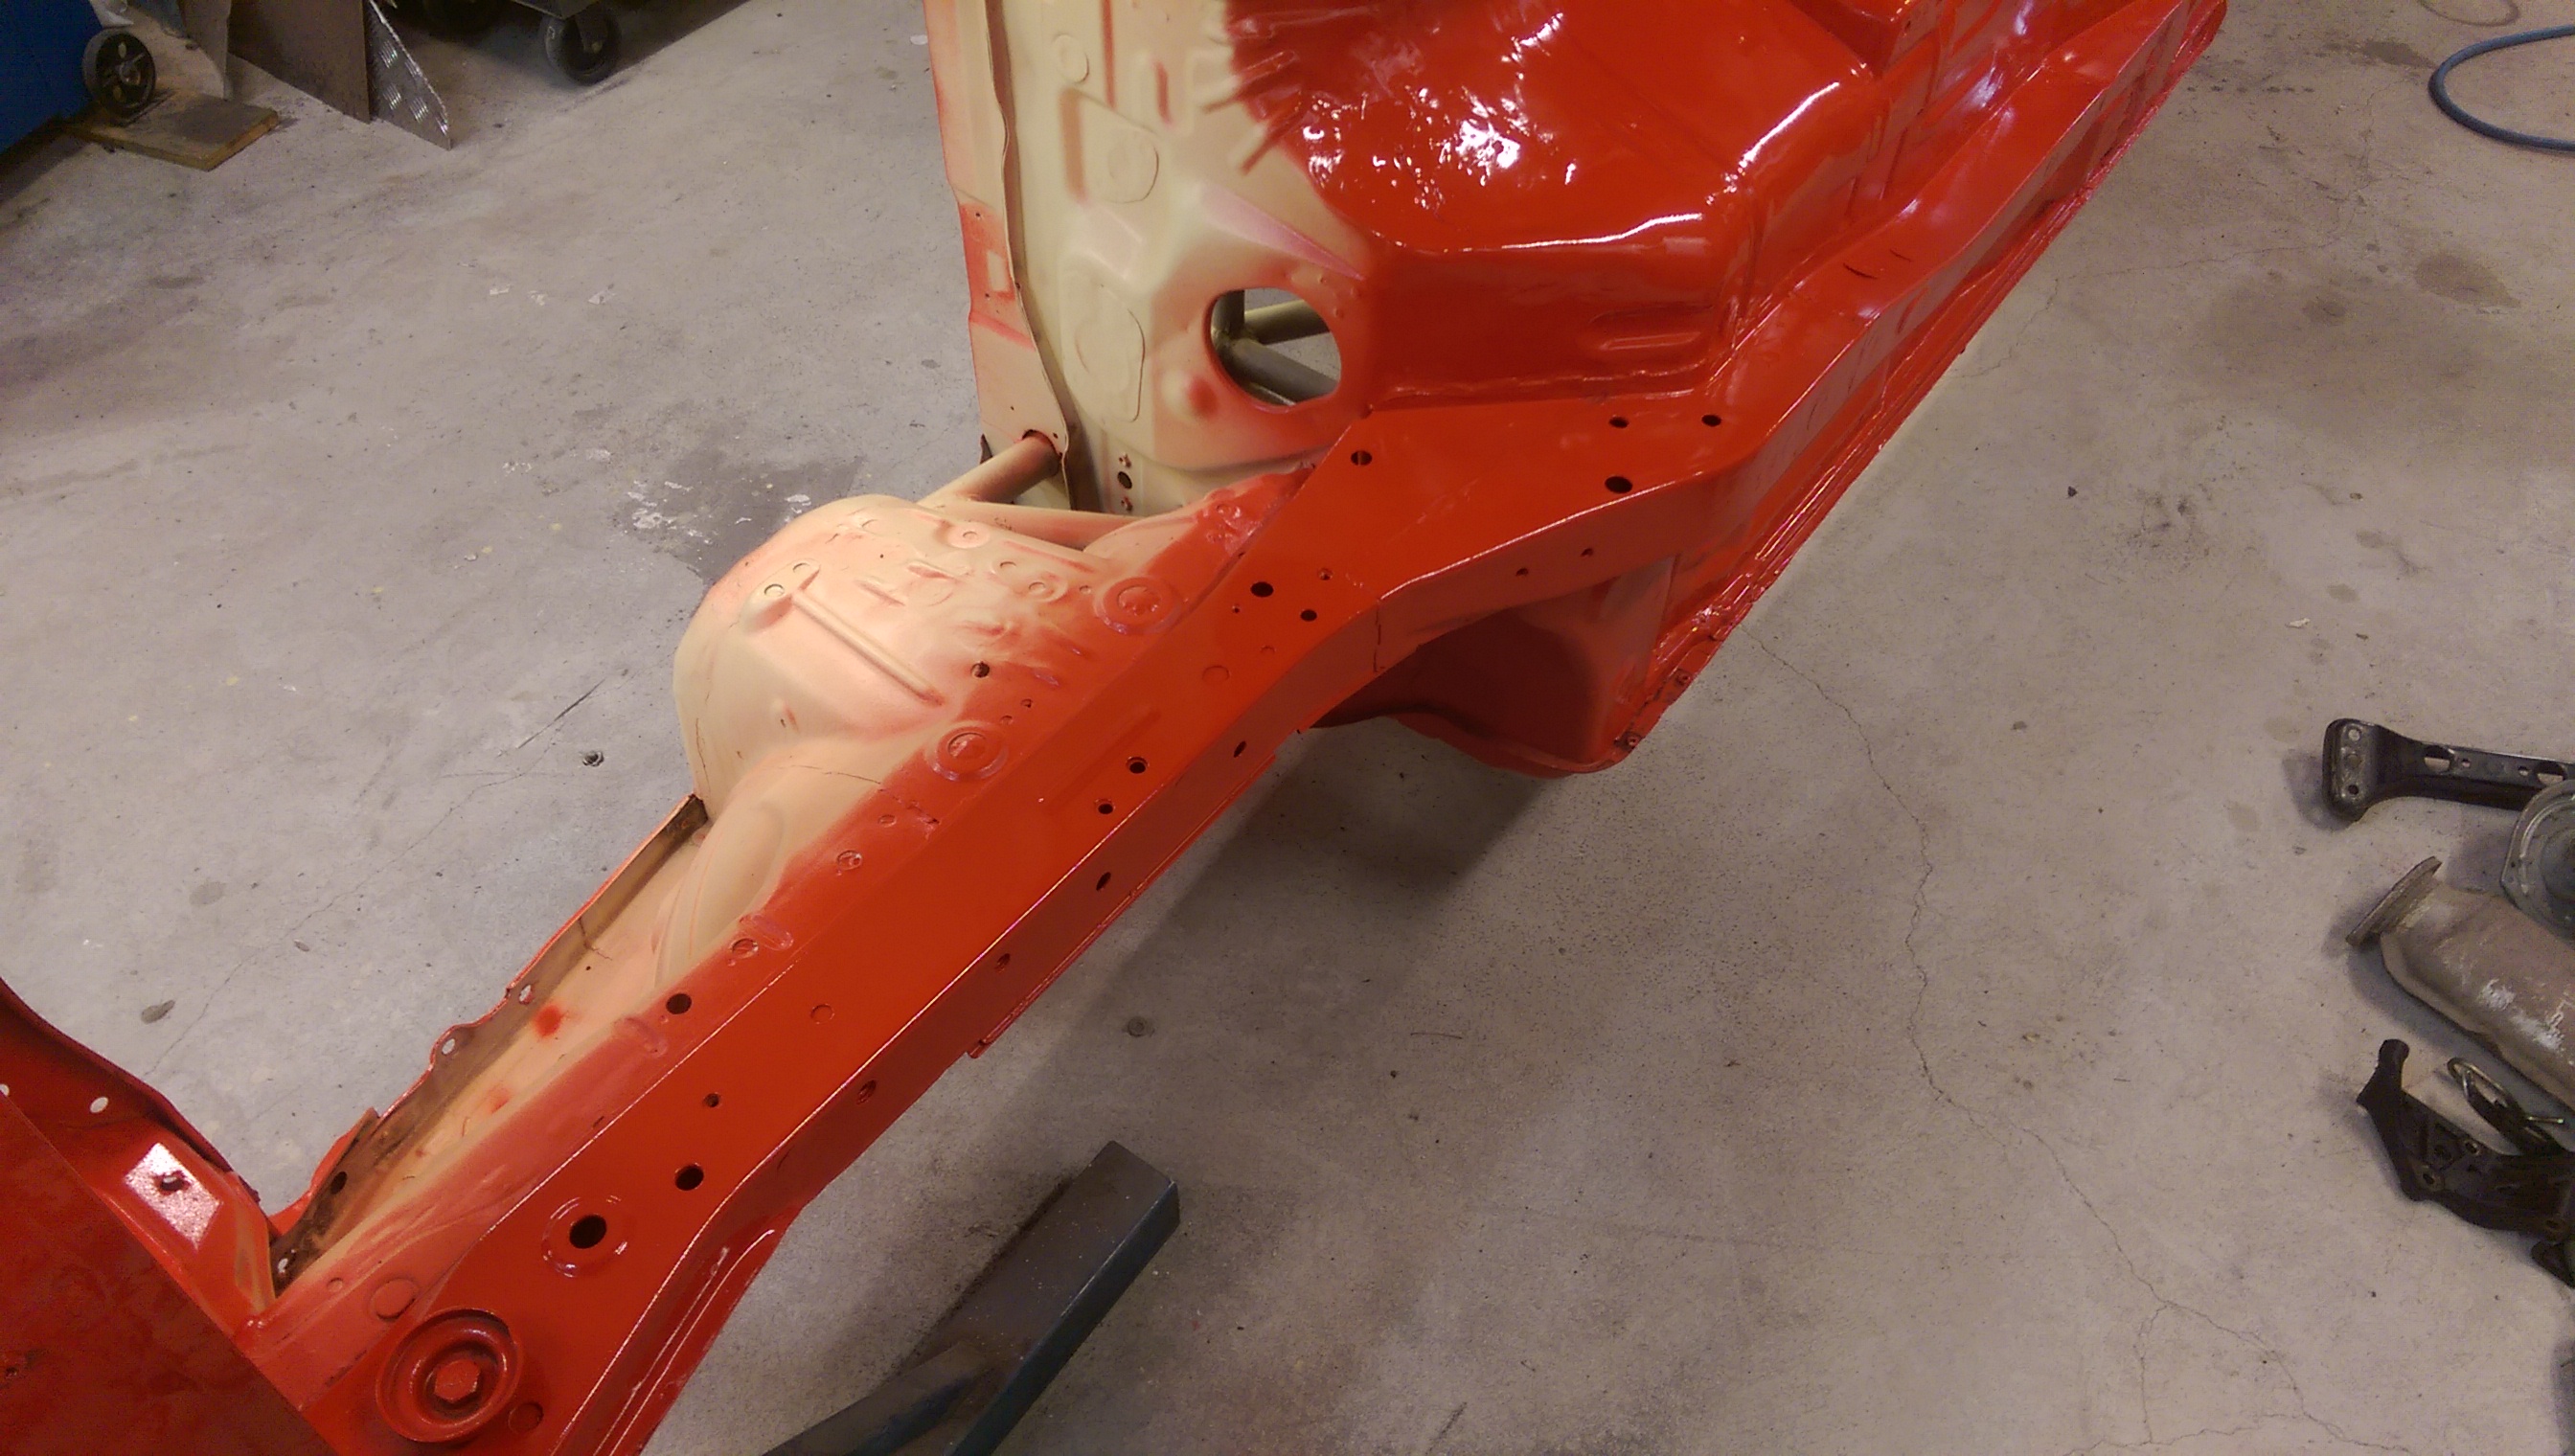
Machined up the subframe mounts and got all of those installed into the subframe.

IMAG0168

Ended the weekend by getting the stock suspension arms on, so that I can measure out how much longer the new arms need to be.

IMAG0174

More soon.

Advertisement

The sweet smell….

….of resin

Or not so much smell as I found out when trying some vacuum bagging for the first ever time.  A bit disappointing really, that smell was the best part.

Started by making a flat carbon panel, on a piece of glass to figure how to do it (and because I needed a flat bit of carbon for something else that is in the works)

IMAG0142

Learnt a lot from that, so did a couple of other small parts.

Then started on a bigger piece.  I had done the mould for the right rear wheel arch flare a long time ago – time to lay it up and bag it up

IMAG0147

Turned out nice, not perfect but I’m happy with the first vac bagging attempt of something this size.  Learnt a few more lessons to apply to the next part.

They are straight out of the mould, so they have not been trimmed yet but they weigh in at 320 grams, so considering the layers that are in them, and the strength of them I’m really happy about their weight.  I can easily make them a lot lighter if this was a tarmac car, but they are going to have to cope getting smashed with rocks, so they are a bit tougher and so heavier.

Used some high tech sticky tape to hold them on the car to see what they look like.

IMAG0153IMAG0151

Powerplant progress

Went through all of the old bits that I have from previous S chassis cars that I’ve had, bought a stock NA engine and bolted it all together.  Its ready to drop in, if I ever get the engine bay and the rest of it painted!

IMAG0125

Scored these for free with the motor, stock extractors from the Autech model from what I can find – nice 🙂

IMAG0123

Hopefully next season I can build a good motor for it, but for now this will do while I learn the car, setup the suspension etc.

The inside is still just in under coat, have been continuing on the parts of the car that will be in red (the inside colour is different)

Front chassis rails, first coat.

IMAG0129

Door openings, sides of the front wheel arch area are done, now onto sanding and finishing the engine bay.IMAG0087

I’ve also been experimenting with roof vents.  This one is a copy of the TTE roof scoop from the ST205 Celica, which while being one that I loved, looked awful on this car with its different roof shape.  So, I cut 100 mm off the front of it, and now it suits the car really well.  Job done.  Well not quite, now I need to get it to fit perfect, then take a mold of it, then make the final one, but at least its one step closer.