My partner in crime on this project is away for a few days, so in going to sleep – I’m shattered.
Month: January 2013
The roof continues
The roof is so very close to being perfect. Hopefully this is the last round of filling and sanding. I do keep saying that though don’t I….. The joys of having had a sunroof.

The roof scoop is in the final stages as well.

More Skirts
Another night of filling and sanding, the skirts are just going to need one final sand down tonight, and they should be perfect.

The skirts are off the car, and the car has been rid of all excess metal.

The roof is very close too, probably one more round of filling and sanding to go.

It looks so phatt undressed!

Hoping to have the roof and skirts 100% finished tonight. We’ve also got a few pieces to make for the doors, hopefully can get them molded tonight too.
Skirts
No, that kind unfortunately
The sideskirts are coming on very nicely, should have them almost complete by the end of tomorrow night.
The roof is coming along well too, Probably needs another layer of spray filler and a sand tomorrow night.

More skirt detail


More tomorrow night!
Brake lights prototype
With the new rear end, we need some new brake lights, so I machined up a prototype.

Here is the finished prototype, with lights on.

Again, from further away.

This is what it will look like with the brakes off. The cover is clear, with a black background behind it.

If they look nice on the car, I’ll be machining some more…
Oops, again…
I was just picking the grinder up to move it, and then…

The days work
And at the end of the day, here is where we are at.
The roof is nearly prepped for molding, one more round of sanding and spray putty and she should be good.

The roof scoop is done. This is for driver cooling.

Another view.

The side skirts on the drivers side are getting close to completion too.

Another view of the skirts.

So what do you do 3 hrs after you cut the rear of the car off, when you realize that you really need the wheel arch flares on the car so that you can match the side skirts to them? A few pop rivets, a strip of alloy tube and some masking tape of course!

Also began the initial design of the new front bumper. From the original car lines, out to the edge of the new bumper, you can see how much wider we’re making it. Its going to look epic!

Also started experimenting with some new aero designs for the rear end…

Not sure of the downforce to drag ratio on this one though…
Oops…
As we were talking about the amount of work required to patch up JC’s stock rear end, vs just making a fibreglass one now – the back fell off!

Although, I do admit to having an angle grinder in my hand when it fell off…..
The rear of the car looks SICK like this! We are defiantly going to have to do Jacks hill without any bodywork, and go into the open wheeler’s class and knock them off in their own class 🙂
Molds are released!
The molds are off! They came up really great, very happy.

Above is the whole left rear of the car, below the boot and rear section – from the back of the mold.

Rear end, from the inside – you can see the mold lines from the lights 🙂

You can see the shine on the molds – we have not even cleaned them or polished them yet!

The back of the car has had sections of paint pulled off, a rear 1/4 window broke and the wheel flares came off…… JC was going to run the stock rear end for a bit this year – now we need to work on that too…. 😦
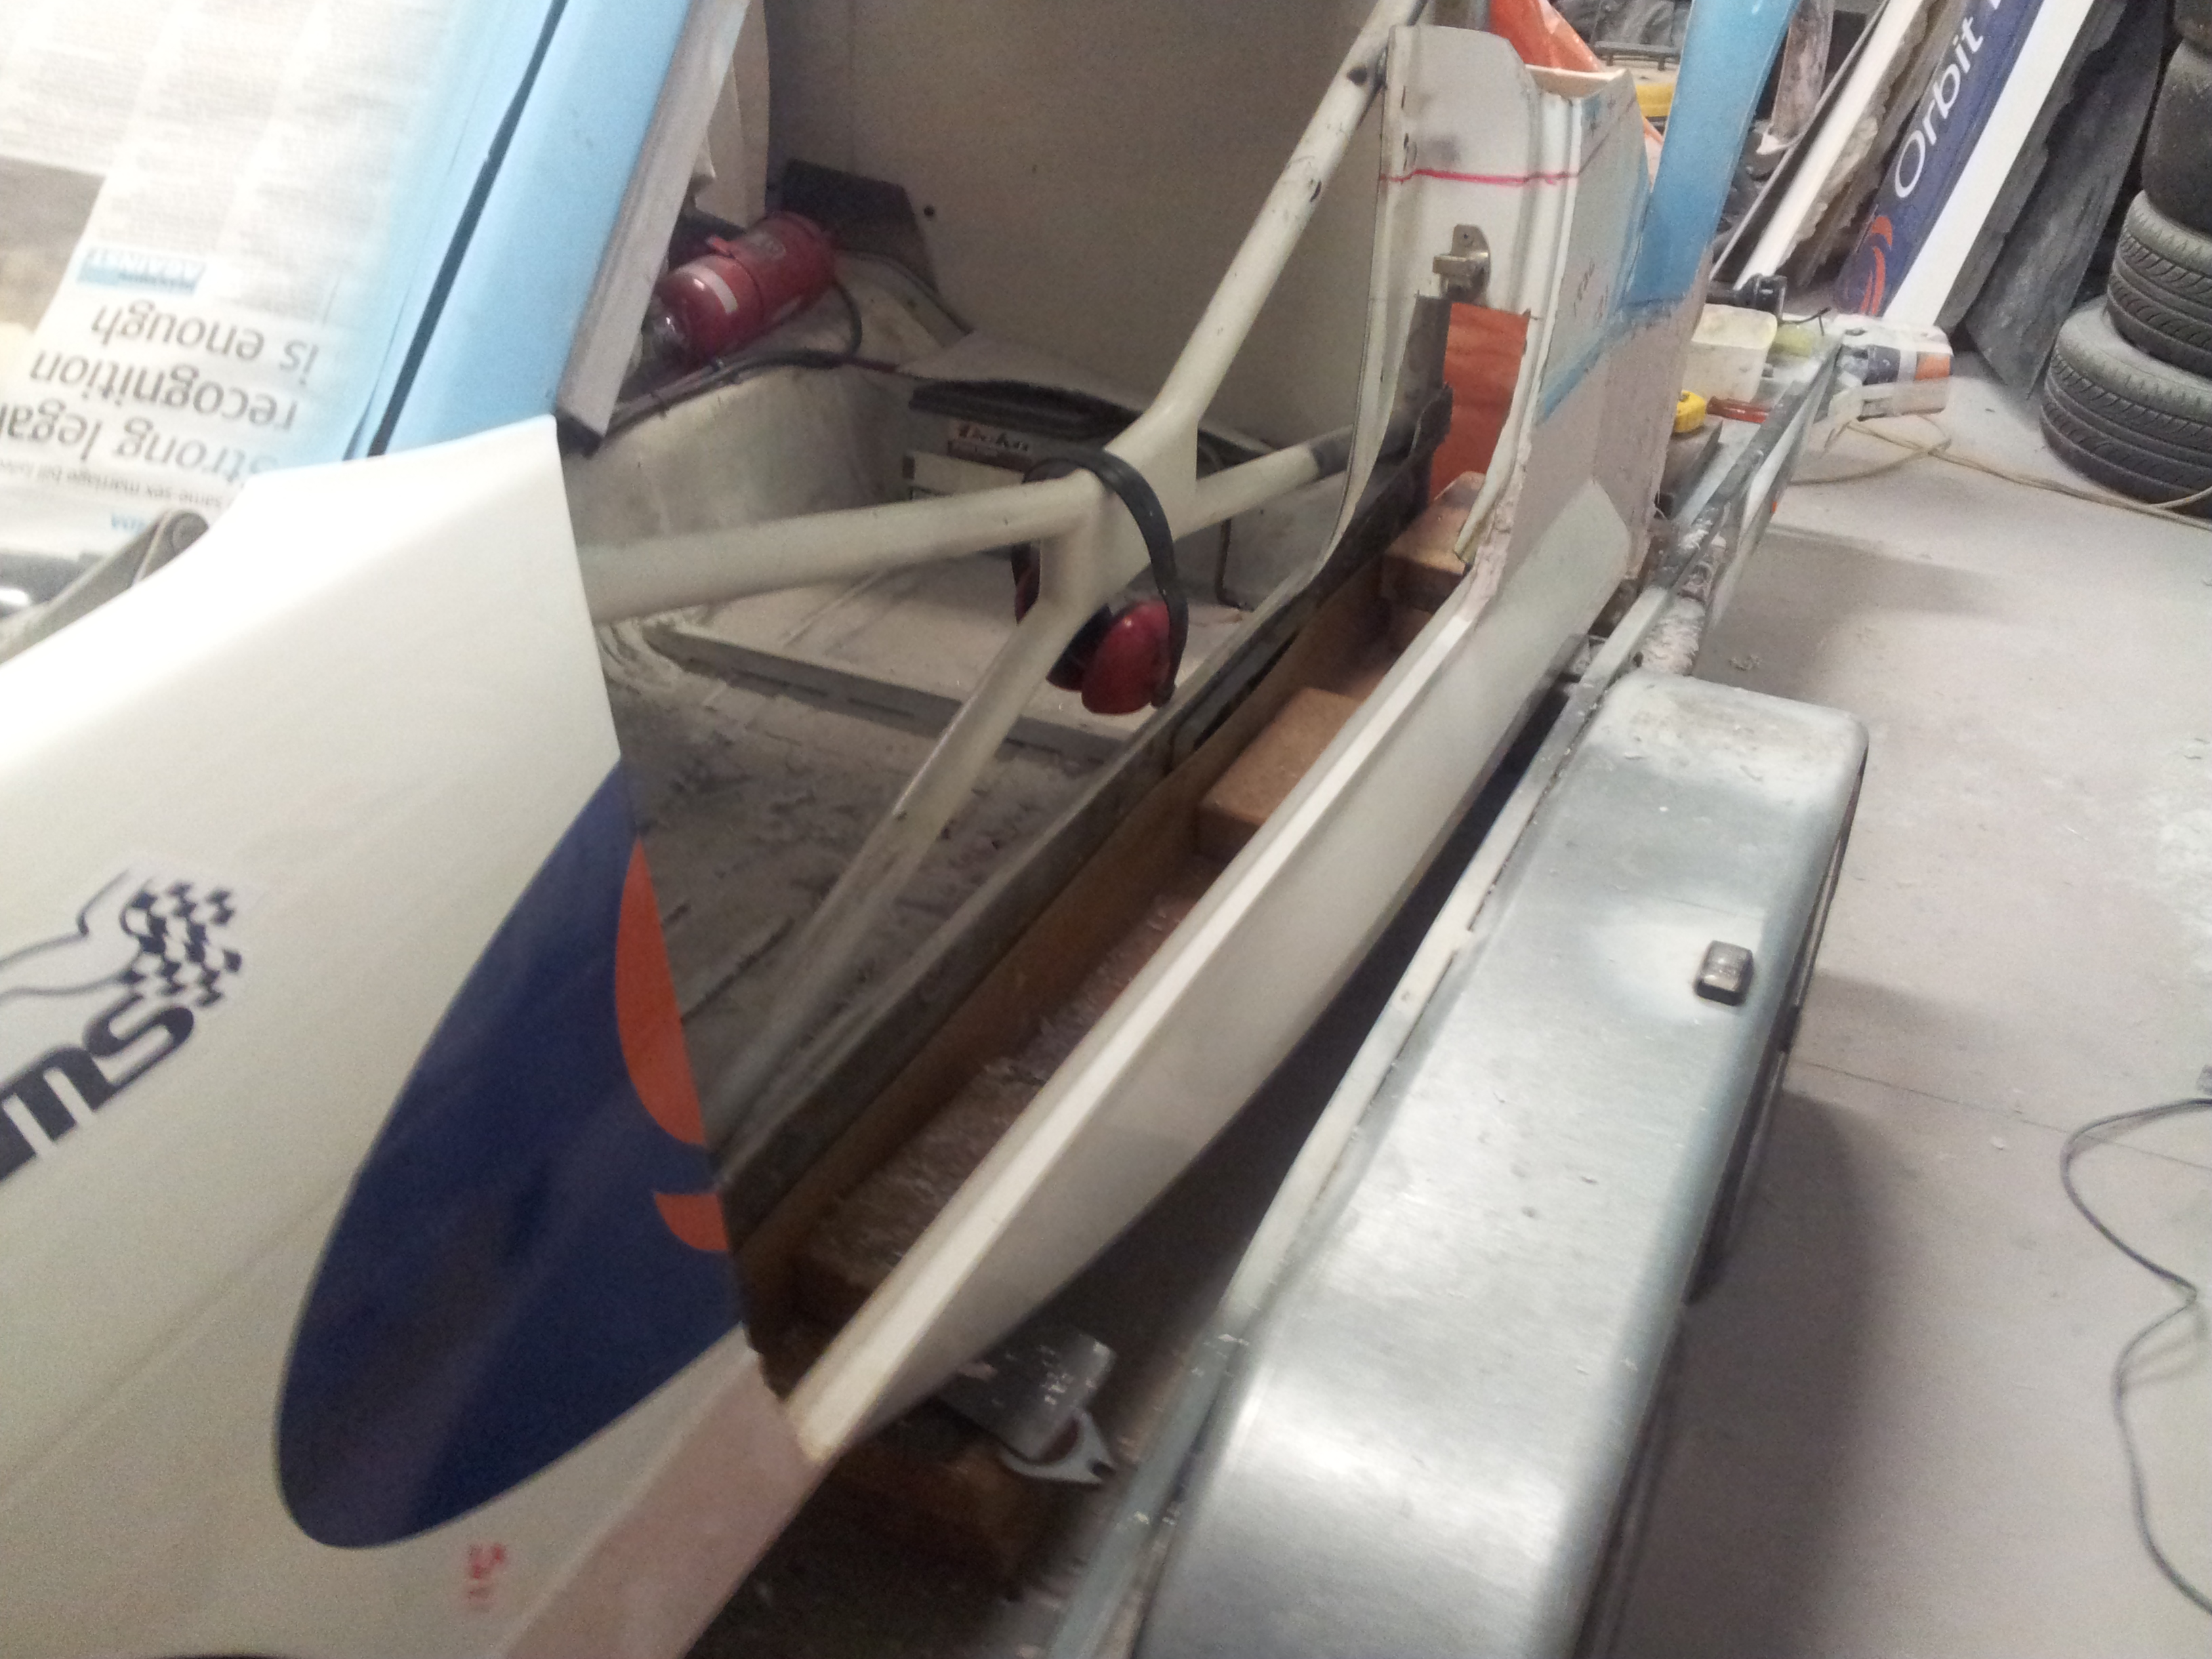
Start of side skirts
Still waiting for the rear to dry, so work continues on the doors and skirts.


These pics better show the ducts that I was talking about in the last post.
Got lots of other little bits cleaned up tonight as well.
Rear end molds finished!
All of the layers are on the rear end molds!


Next, we wait a few days for everything to harden fully, before we can remove them to see what we got.
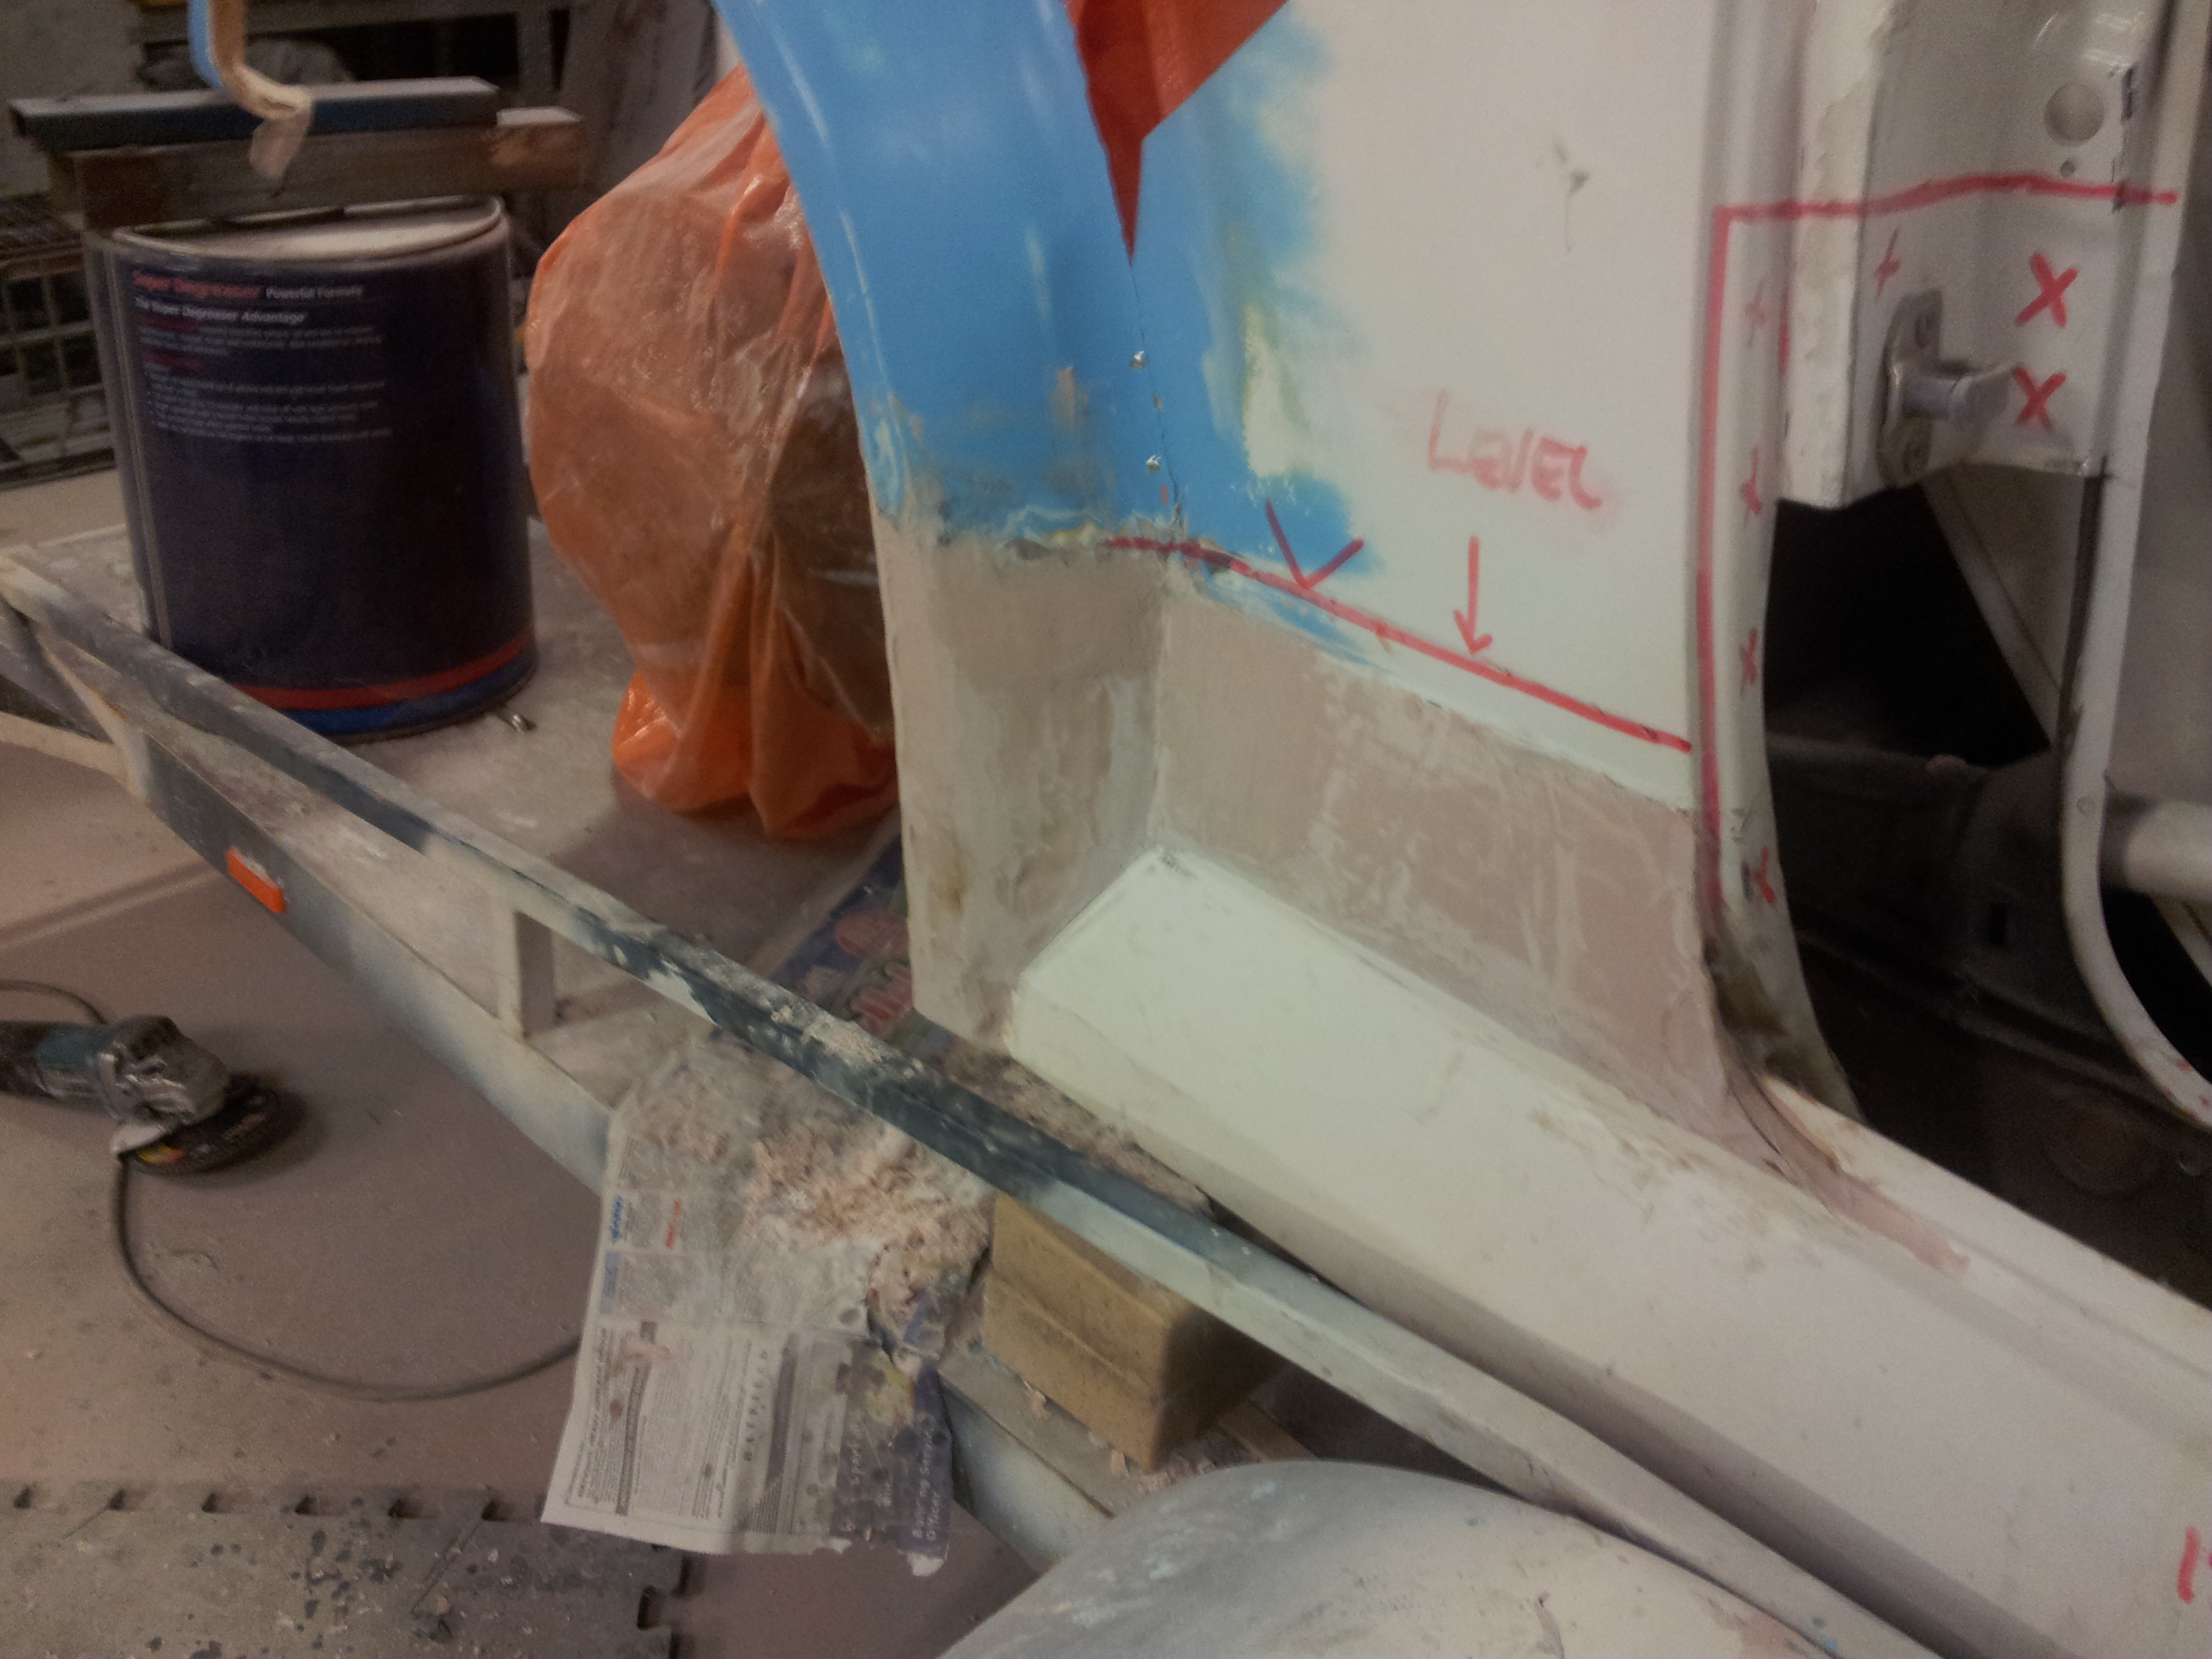
So, in the mean time we started on the doors and side skirts.


The bottom section of the ‘door’ will be a big duct, exiting the front wheel wells, and then re-entering the rear wheel area, for brake ducts, diff coolers etc.
